共计 1144 个字符,预计需要花费 3 分钟才能阅读完成。
光是研究這個問題我就花了整整 6 小時多瘋狂爬文,必須筆記一下!我預設安裝系統是使用最小安裝,因此很多套件都必須自己另外補齊,這邊就先不提及,指針對修改解析度做說明。
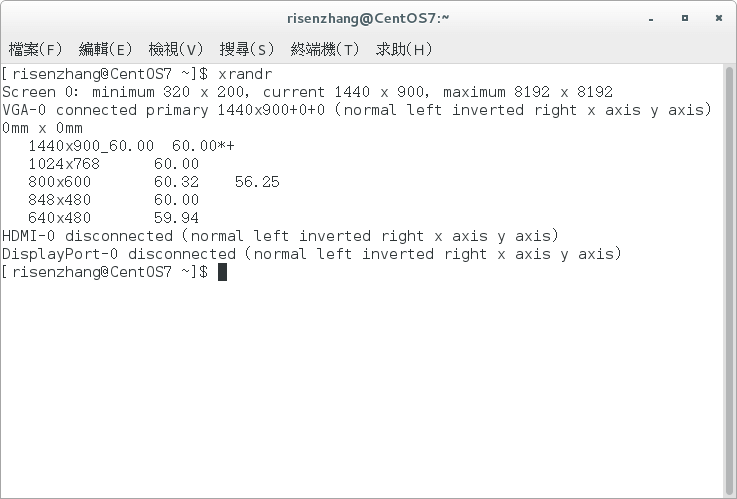
在此之前必須先確認自己的顯示晶片是否支援這種解析度,先透過下述指令,無法使用 SSH 遠端下請直接使用本機執行
#xrandr從上述得知最大可以設定倒 8192×8192,但我本身是透過安裝 Win10 後設定驅動得知可以設定 1440×900,而且我的螢幕最高也只有支援到這個解析度!可是原生的 CentOS 7 只有提供到 1024×768,因此我們必須手動設定!
- 在進行手動設定前必須先關閉視窗,先切換到 Root 管理者後輸入下列指令即可切到文字界面
#systemclt isolate multi-user.target- 切換完成後使用遠端進行修改吧!登入 Root 帳戶後輸入下列指令產生一個設定檔
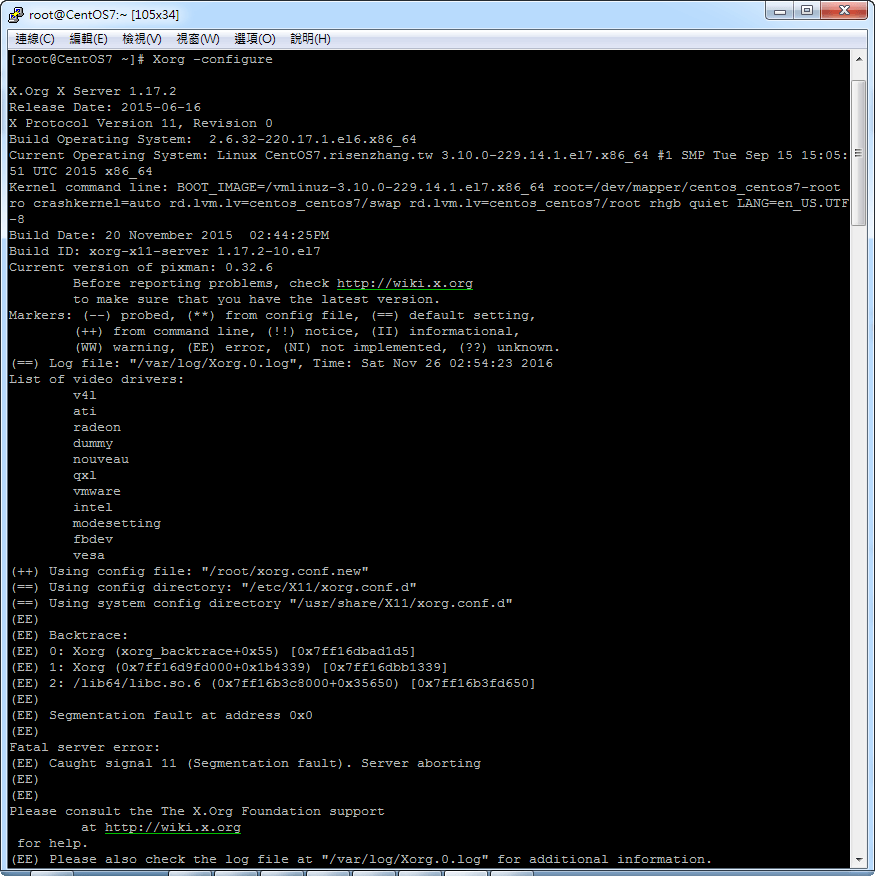
#Xorg -configure- 這邊看到錯誤不要慌!!!因為根本不重要,因為檔案一樣產生出來並放在 /root/xorg.conf.new 直接複製進行改名即可
#mv /root/xorg.conf.new /etc/X11/xorg.conf.d/10-monitor.conf- 接下來我們要直接新增參數讓 xrandr 能支援到我們需要的解析度
#vim /etc/X11/xorg.conf.d/10-monitor.conf- 找到下列幾行 針對紅色進行新增或者修改
Section “Monitor”
Identifier “Monitor0”
Modeline “1440x900_60.00” 106.47 1440 1520 1672 1904 900 901 904 932 -HSync +Vsync
EndSection
Section “Device”
Identifier “Device0”
EndSection
Section “Screen”
Identifier “Screen0”
Device “Device0”
Monitor “Monitor0”
DefaultDepth 16 #Choose the depth (16||24)
SubSection “Display”
Depth 16
Modes “1440x900_60.00” #選擇你需要的解析度並符合 Modeline
EndSubSection
EndSection
注意參數 Modeline 要依照自己需求進行調整 請到這個 網站 進行運算貼上即可!
修改完成後回到本機輸入下列指令即可進行測試
#systemclt isolate graphical.target
